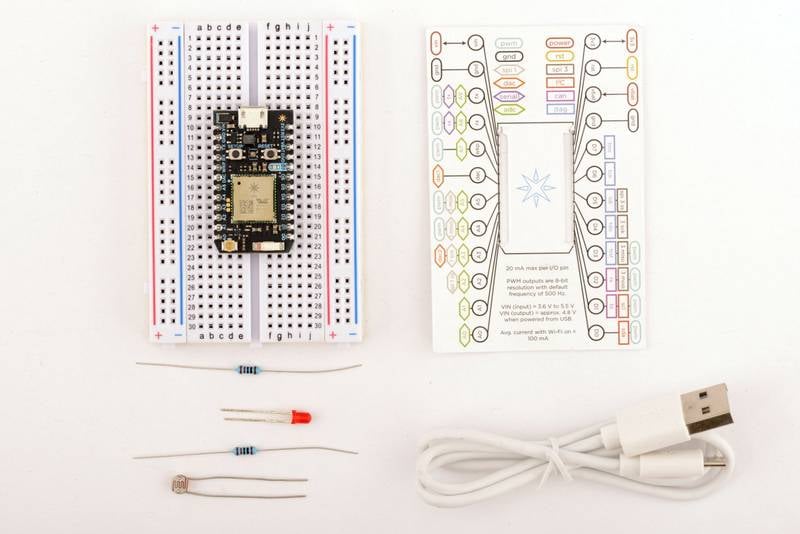
Connect Solar Panel To Particle Photon Microcontroller
Photon Quick Start Particle

Solar Panel Monitoring Using Particle Photon 7 Steps Instructables

Pin On Electronics Projects

Particle Photon Headers Iot Projects Particles Design Gadgets

Pin On Arduino Raspberry Pi Beaglebone Etc

Getting Started With The Particle Photon Internet Controlled Leds Leds

Particle is the edge to cloud iot platform to help you connect the unconnected.
Connect solar panel to particle photon microcontroller.

Iot Network Particle Iot Electronics Projects Microcontrollers

Iot Based Solar Panel Monitoring Using Particle Photon
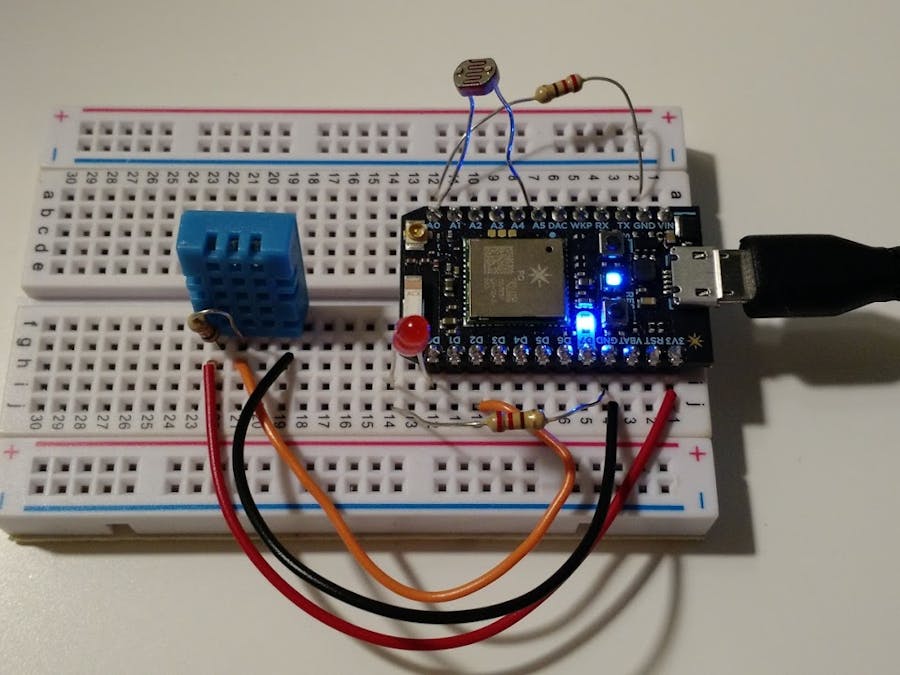
Multiple Sensors Particle Photon Thingspeak Hackster Io

Particle Photon Headers Elektroniken Projekte Technik

Particle Photon With Headers Development Board Microcontrollers Arduino

Pin On Microcontroller Projects

Here Explains How To Visualize Data From Particle Photon In Adafruit Io Dashboard And Integration In Ifttt By Anas Dalintakam Integrity Particles Arduino Wifi

Microsoft Power Bi Particle Awesome Custom Dashboards Cloud Software Particle With Images Custom Dashboard Dashboards Microsoft

Particle Photon Rssi On Display Particles Display Personalized Items

Iot Cat Feeder Using Particle Photon Integrated With Alexa Smartthings Ifttt Google Sheets With Images Particles Cat Feeder Smartthings

Getting Started With The Particle Photon Internet Controlled Leds 5 Steps With Pictures Instructables

Tiny Message Board En 2020 Electronique

Pin On Electronics

How To Build A Solar Powered Particle Photon Environment Monitor Using Dweet Solarpower Adafruit Industries Makers Hackers Artists Designers And Engineers

Air Quality Monitoring Using Particle Photon 11 Steps With Pictures Instructables

Oled Display Spi With Particle Photon 4 Steps With Pictures Instructables
Particle Company News And Updates Particle Electronics Crafts Diy Electronics Iot
Nodemcu Esp8266 And Lua Part 1 Iot And T

Pin On Adapters

Get C H I P And C H I P Pro The Smarter Way To Build Smart Things Computer Accessories Finding Yourself Embedding

Pin Na Doske Arduino Microcontrollers

Conference Room Monitoring Using Particle Photon 8 Steps With Pictures Instructables

Learn How To Build In Plants A Mesh Connected Soil Monitoring System Particle Blog In 2020 Arduino Projekte Arduino Sensoren Arduino
Particle Photon Programming Tutorial Specs Examples Arrow Com
Source : pinterest.com
